Transform Your Garden with a DIY Pegboard for Ultimate Tool Organisation
Share
Are you tired of rummaging through piles of tools in your shed, searching for that one spade or rake? If so, you're not alone! Organising garden tools can often feel like a herculean task, but it doesn't have to be.
By creating a DIY pegboard for garden tool storage, you can keep your gardening implements orderly and easy to access. This article will guide you through the steps to create your own pegboard system that maximises your tool storage for sheds. Let’s dive in!
Why Use a Pegboard for Tool Storage?
There are multiple reasons why a pegboard is a good solution for your garden tools. Here are some of the key benefits and limitations:
Benefits
- Cheap: Pegboard boards and the wire hooks for them are cheap.
- Organisation: Pegboards utilise vertical space, allowing for efficient organisation of tools without taking up much floor space.
- Customisation: With various sizes and arrangements, a pegboard can be tailored to fit your specific needs and tool types.
- Visibility: Keeping your tools on display helps you quickly locate what you need, saving time and frustration.
- Durability: Metal pegboards can hold a considerable amount of weight and are resilient against the outdoor elements when properly treated.
Limitations
- Uses wall space: Like single wall hooks, pegboard hooks only hold one tool at a time so you can use up all your wall space really quickly.
- Flimsy: Most pegboards use bent wire hooks. These can be ok for light tools but struggle to hold anything heavy.
- Prone to damp: Pegboard boards can be made of hardboard, fibreboard or plywood. These can swell and hold moisture in damp climates especially if used in a shed or outdoors.
Gather Your Materials
Before you embark on your pegboard project, gather the necessary materials:
- Pegboard sheet (choose a size that fits your shed space)
- Plywood backing (for added support)
- Pegs or tool hooks
- Wall-mounted brackets or screws
- Sandpaper (for smoothing edges)
- Paint or wood stain (for finishing, optional)
Step-by-Step Guide to Creating Your DIY Pegboard
Step 1: Measure Your Space
The first step in creating your DIY pegboard is measuring the available space in your shed. Consider how many garden tools you want to hang and their dimensions. This will aid in determining the size of the pegboard you'll need for optimal garden tool storage.
Step 2: Cut the Pegboard and Plywood
Once you have your measurements, use a saw to cut the pegboard and plywood backing to the desired size. The plywood will provide stability, so make sure it’s slightly larger than the pegboard. Smooth the edges with sandpaper to prevent any sharp corners.
Step 3: Paint or Stain (if desired)
If you want your pegboard to match the aesthetics of your garden shed, now is the time to paint or stain your pegboard and plywood. Allow it to dry completely before attaching it to the wall. Remember to use weather-resistant finishes for durability.
Step 4: Secure the Backing
Attach the plywood backing to the wall using wall-mounted brackets or screws, ensuring it’s securely fixed. This will serve as the structure that holds your pegboard in place.
Step 5: Attach the Pegboard
Once the plywood backing is secure, place the pegboard firmly against the backing. Use screws or brackets to attach the pegboard to the plywood, ensuring it is level and stable.
Choosing the Right Tool Hooks
Now that you've secured your pegboard, it’s time to consider how you’ll organise your tools. This is where garden tool hooks come into play! Here’s a list of hooks you might want to include:
- Standard Tool Hooks: For hanging larger tools like spades and shovels.
- Curved Hooks: Ideal for securely holding tools like rakes and brooms.
- Utility Hooks: Useful for lighter handheld tools or cords.
- Small Hooks: Perfect for smaller implements like trowels and pruning shears.
Maximising Your Pegboard Layout
To ensure your pegboard serves as an efficient tool storage solution, consider the following layout tips:
- Group Similar Tools: Hang all your gardening tools together to easily find them when you need.
- Keep Frequently Used Tools Accessible: Place the tools you use the most at eye level for quick access.
- Vertical Arrangement: Be creative with your vertical space by using multiple rows of hooks.
- Add Labels: Label each section for an organised, visually appealing pegboard.
Maintaining Your Pegboard
After creating the perfect garden tool rack, it’s essential to keep it maintained for years of use. Here are some maintenance tips:
- Regularly Clean: Dust your pegboard to avoid dirt build-up that can make tools difficult to find.
- Check for Tightness: Ensure hooks and pegs remain securely fastened; tighten them if they become loose.
- Evaluate Your Tools: Regularly assess your tools and remove any that are broken or not needed to free up space.
Put It All Together
A well-organised garden tool storage system can transform your gardening experience, making it easier to maintain your green spaces. By taking the time to create a DIY pegboard, you’ll gain multiple benefits—improving access to your tools, saving space in your shed, and gaining greater control over your gardening supplies.
Now that you've read this comprehensive guide to creating a DIY pegboard for garden tool organisation, it’s time to roll up your sleeves and get started. Your shed will be a model of organisation, and you’ll find joy in your gardening efforts without the stress of disorganised tools. Gardening should be a pleasure, not a chore—and an organised space contributes greatly to that experience!
Ready to elevate your gardening game? Don't wait any longer—grab those materials, gather some inspiration, and dive into your DIY pegboard project today!
Alternatives to Pegboards
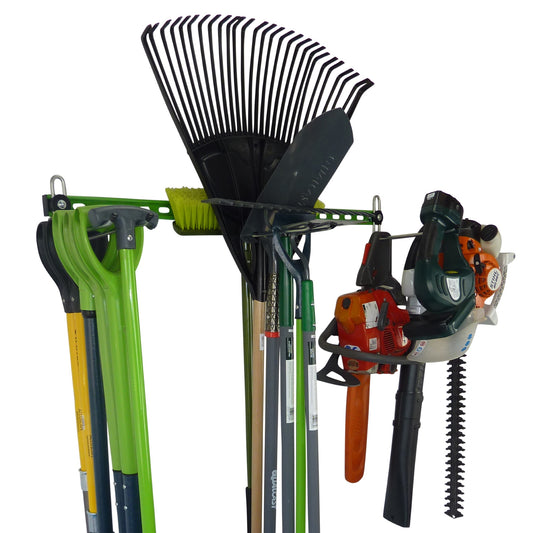
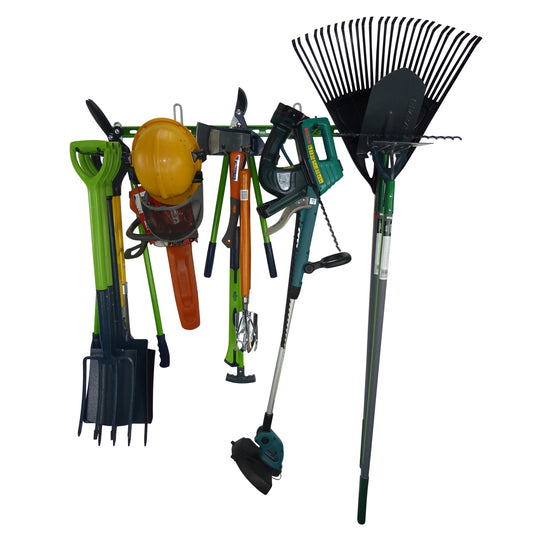
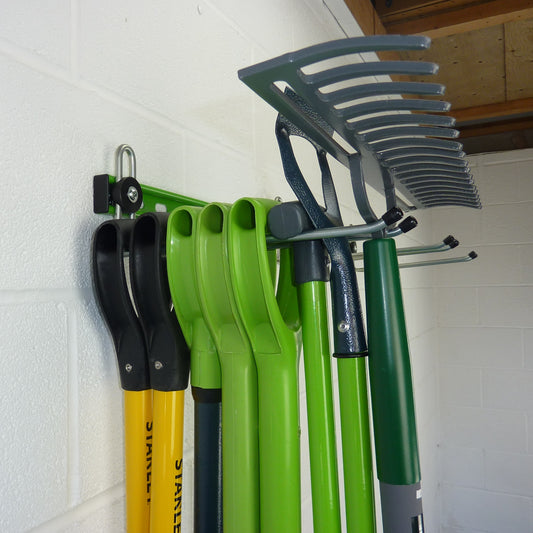
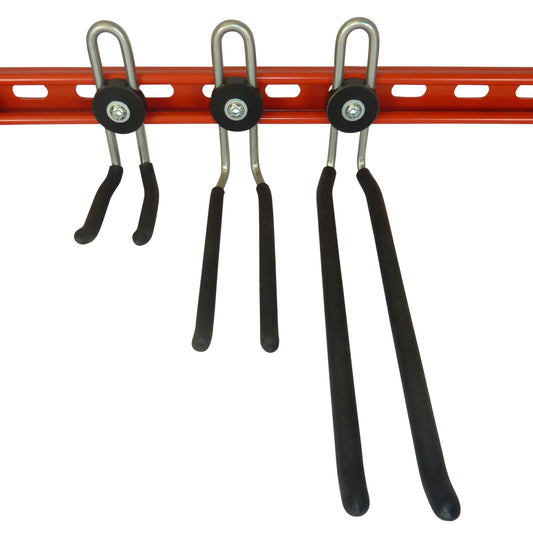
If you are not great at DIY or if you need a more robust tool storage solution you could look at metal garden tool storage racks. The GearHooks garden tool storage racks offer some significant advantages over pegboards:
- Space saving: each garden tool hook will hold 6 or 7 garden tools like spades, shovels or rakes. A 1m long rack can be fitted with 3 or 5 hooks so you can get 20+ or 30+ tools in just 1 metre of wall space.
- Heavy duty: each hook can hold heavy items like chainsaws, hedge trimmers or several mauls, sledge hammers, axes and much more.
- Weatherproof: the hooks are galvanised and the rails are galvanised AND powder coated so they will never rust even if used outside for prolonged periods.
- Lifetime Warranty: if anything ever goes wrong we will replace it free of charge.
If you want to see the full range of GearHooks garden tool storage products, click on any of the images above.


